
Check the complaint and scan setup before you trust any code
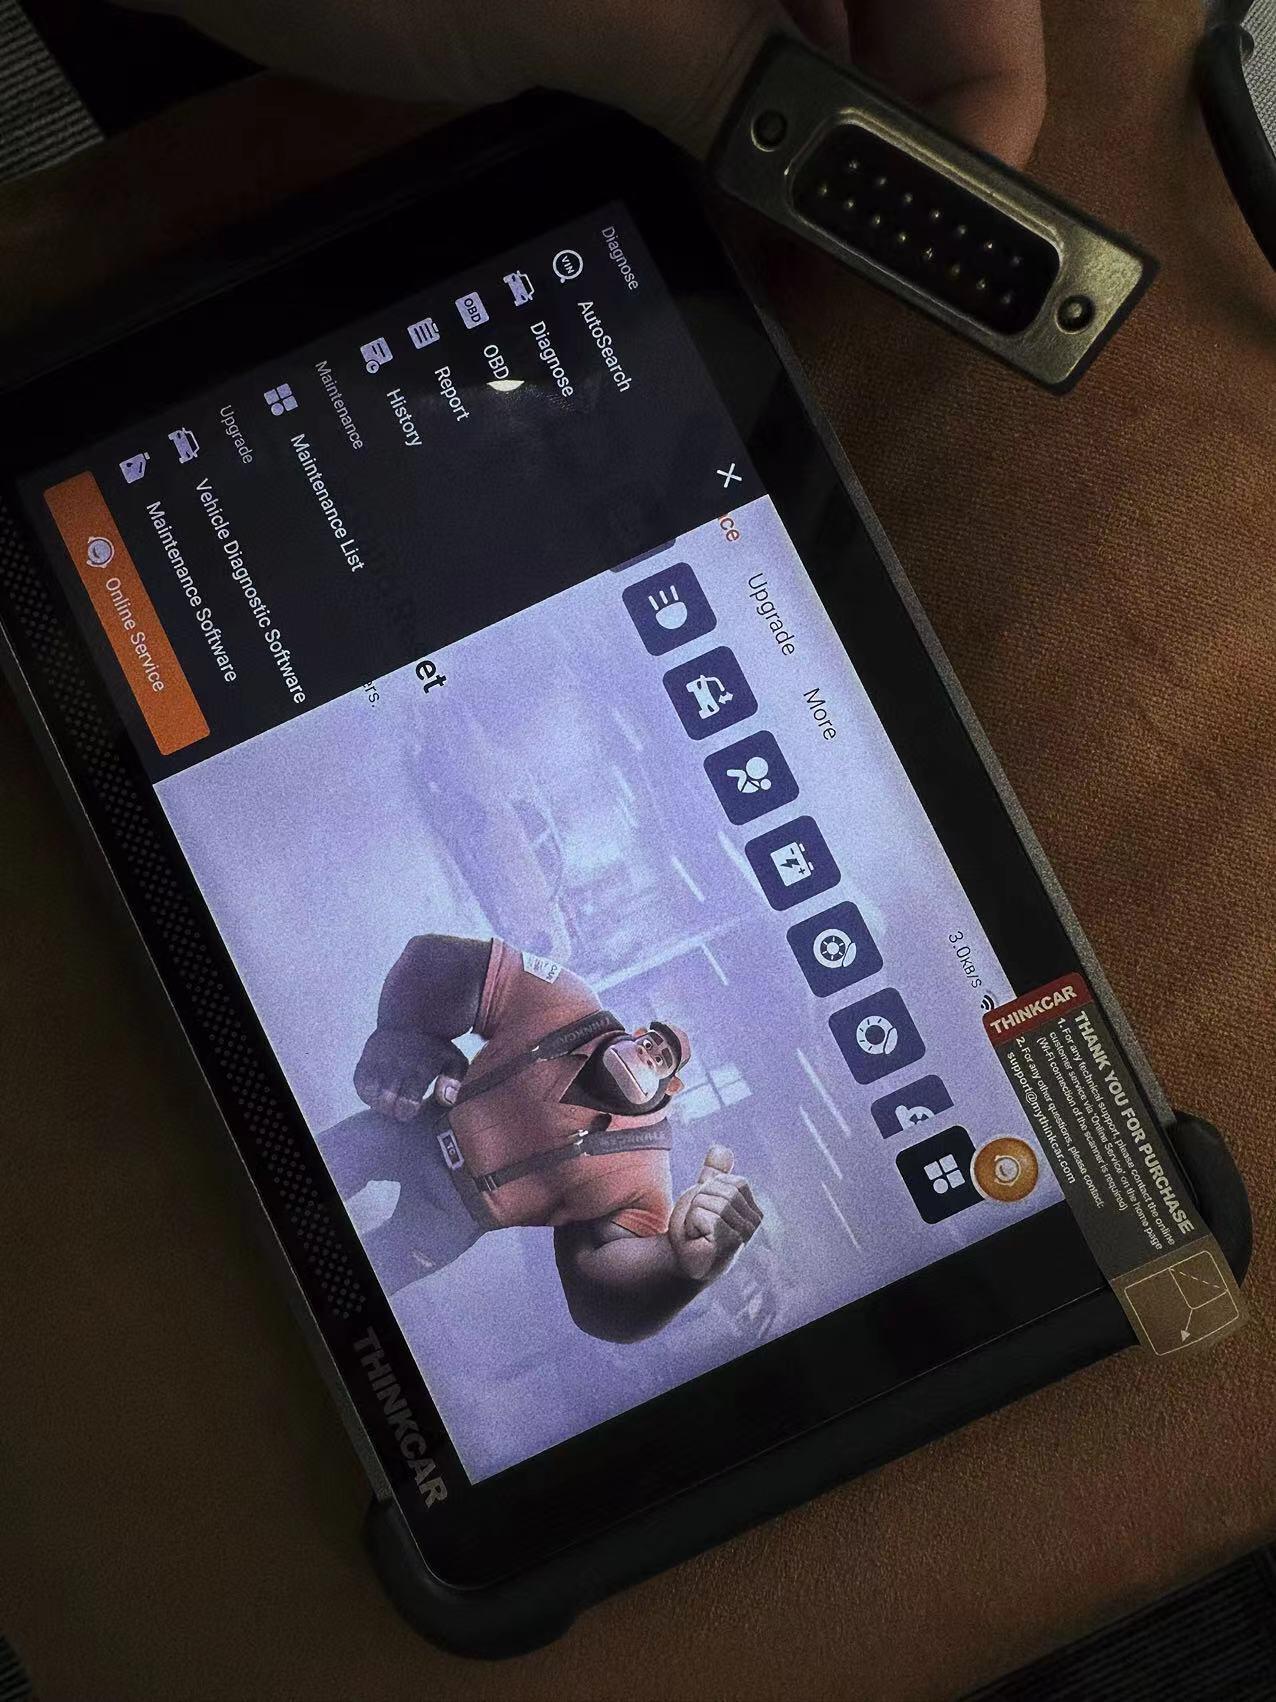
A fault code can send you in the right direction, but it can also waste an afternoon if you treat it like a final diagnosis. That usually happens when the warning light is real, the symptom is vague, and the first code on the screen gets all the attention. In practice, accurate car repairs come from connecting diagnostic scanner data to the actual complaint, the vehicle conditions, and the test results you see after the scan.
Before you grab your OBD2 scanner, slow the process down for two minutes and verify what the vehicle is actually doing. A rough idle at cold start, an intermittent check-engine light on the highway, and a stored evaporative code after recent battery work are three very different jobs. According to the EPA, OBD monitor readiness and monitor-related issues can affect how vehicle emissions diagnostics are interpreted, which is one reason a single code never tells the full story.
What to confirm before connecting a car diagnostic scanner
- Ask when the symptom happens: cold start, hot idle, cruise, load, or stop-and-go driving.
- Check whether the MIL, ABS, SRS, or another warning light is on now.
- Ask about recent repairs, jump starts, battery replacement, or parts swaps.
- Verify battery condition and system voltage before scanning.
- Confirm ignition state and that the scan tool is communicating with the correct VIN.
- Record all visible symptoms before clearing anything.
Why this matters
- A stored code may be old and unrelated to today’s complaint.
- Low voltage can trigger multiple module faults that look unrelated.
- Incomplete communication can hide the module that started the problem.
- Better setup gives you cleaner live data interpretation later.
Build a repeatable diagnostic scanner data routine
Once the basics are confirmed, the goal is simple: collect the full picture before you replace parts. That means scanning every available module, reading freeze-frame information, comparing live values to the symptom, and using active tests when the tool and vehicle support them. An automotive diagnostic tool is most useful when you use it as part of a routine, not just as a code reader.
Safety and prep guardrails
- Keep battery voltage stable before long scans or active tests.
- Save original codes, freeze-frame data, and health reports before resets.
- Be careful with actuator tests that can move fans, windows, locks, or brake-related components.
- Confirm vehicle coverage because service functions can vary by model and software version.
- Do not assume code clearing fixed the fault.
What a good routine gives you
- Fewer wrong-part replacements
- Faster root-cause isolation
- Better repair notes for repeat issues
- Cleaner post-repair verification
Use this five-step path to turn diagnostic scanner data into accurate car repairs
A clean scan routine works because each step answers a different question. One step tells you what systems noticed a fault. The next shows the conditions when it happened. After that, live data interpretation tells you whether the system still behaves abnormally right now.
Step 1: Scan every module, not just the first code screen

Start with a full-system scan so you can see active, pending, and history codes across the vehicle. On newer vehicles, one issue can trigger faults in multiple modules, so an engine code may not be the whole story. This is especially important when your car diagnostic scanner shows both powertrain and network-related faults.
What to do
- Run a complete vehicle health scan.
- Save or screenshot all DTCs before touching erase.
- Separate codes into active, pending, stored, and history.
- Note which module reported each code.
- Look for low-voltage or communication faults first.
What to watch
- One primary fault can create several secondary codes.
- A U-code may point to a communication problem, not a failed sensor.
- A history code should not outrank a current symptom.
For a mobile workflow, THINKDIAG 2 makes this first pass easy because it supports full-system diagnostics, AutoVIN, health reports, and app-based scanning over Bluetooth. It also supports 10 OBD2 full functions, including freeze-frame access, readiness status, read and clear DTCs, O2 sensor test, and EVAP system test, which fits a DIY or light-service routine well. When you want a wireless OBD2 scanner that can move from code pull to data review without carrying a larger tablet tool, this setup is practical for personal vehicles and small repair jobs.
Shop: THINKDIAG 2
Step 2: Read freeze-frame data to recreate the failure moment
Freeze-frame data matters because it captures the operating conditions when the code set. Instead of guessing whether the failure happened at idle or under load, you can look at engine speed, coolant temperature, load, speed, and fuel-trim conditions. That context often changes the repair path completely.
What to do
- Open freeze-frame for the main fault first.
- Record RPM, coolant temp, load, vehicle speed, and fuel trims.
- Compare those values to the customer’s complaint.
- Ask whether the event was cold-start, warm idle, cruise, or acceleration.
Why this matters
- A lean code at idle points you toward different causes than a lean code at highway load.
- A misfire during warm idle is not the same as a misfire under heavy throttle.
- Freeze-frame helps you recreate the fault window during road testing.
Common mistake
- Treating the DTC description as more important than the conditions that set it.
Compare live data to the symptom instead of chasing the code label
Freeze-frame shows the past. Live data shows what the vehicle is doing now. This is where many good repairs are won, because live data interpretation can tell you whether the suspect signal is believable, delayed, flat-lined, noisy, or simply reacting to another problem upstream.
Step 3: Watch live values under the same conditions
Do not stare at a single PID at idle and call it done. You want to compare values during idle, snap throttle, cruise, and the exact conditions that trigger the complaint. If the issue only shows up under load, your test plan has to match that.
What to do
- Graph the key PIDs related to the complaint.
- Compare sensor values at idle and during throttle changes.
- Watch short-term and long-term fuel trim together.
- Check whether values change smoothly or drop out.
- Repeat the test in the same temperature and load range as the freeze-frame event.
Useful examples
- Cold-start rough idle: watch coolant temp, fuel trims, and misfire counters.
- Intermittent warning light: log data during the drive conditions that usually trigger it.
- No obvious drivability symptom: compare whether the code is emissions, body, chassis, or network related.
THINKDIAG 2 is useful here because it can display multiple live data streams in graph form, including a four-data display on one screen. That makes it easier to compare related signals instead of flipping between menus. For a Bluetooth OBD2 scanner used with a phone or tablet, that combination works well when you are trying to decide whether the fault points to the sensor itself, the wiring path, or a mechanical condition affecting the reading.
Confirm the suspect system with functional tests when supported
At some point, you have to move from observation to confirmation. That is where active tests, also called bidirectional tests, become valuable. Instead of waiting for the vehicle to command a component on its own, you command it directly and watch how the system responds.
Step 4: Run active tests to prove the fault path
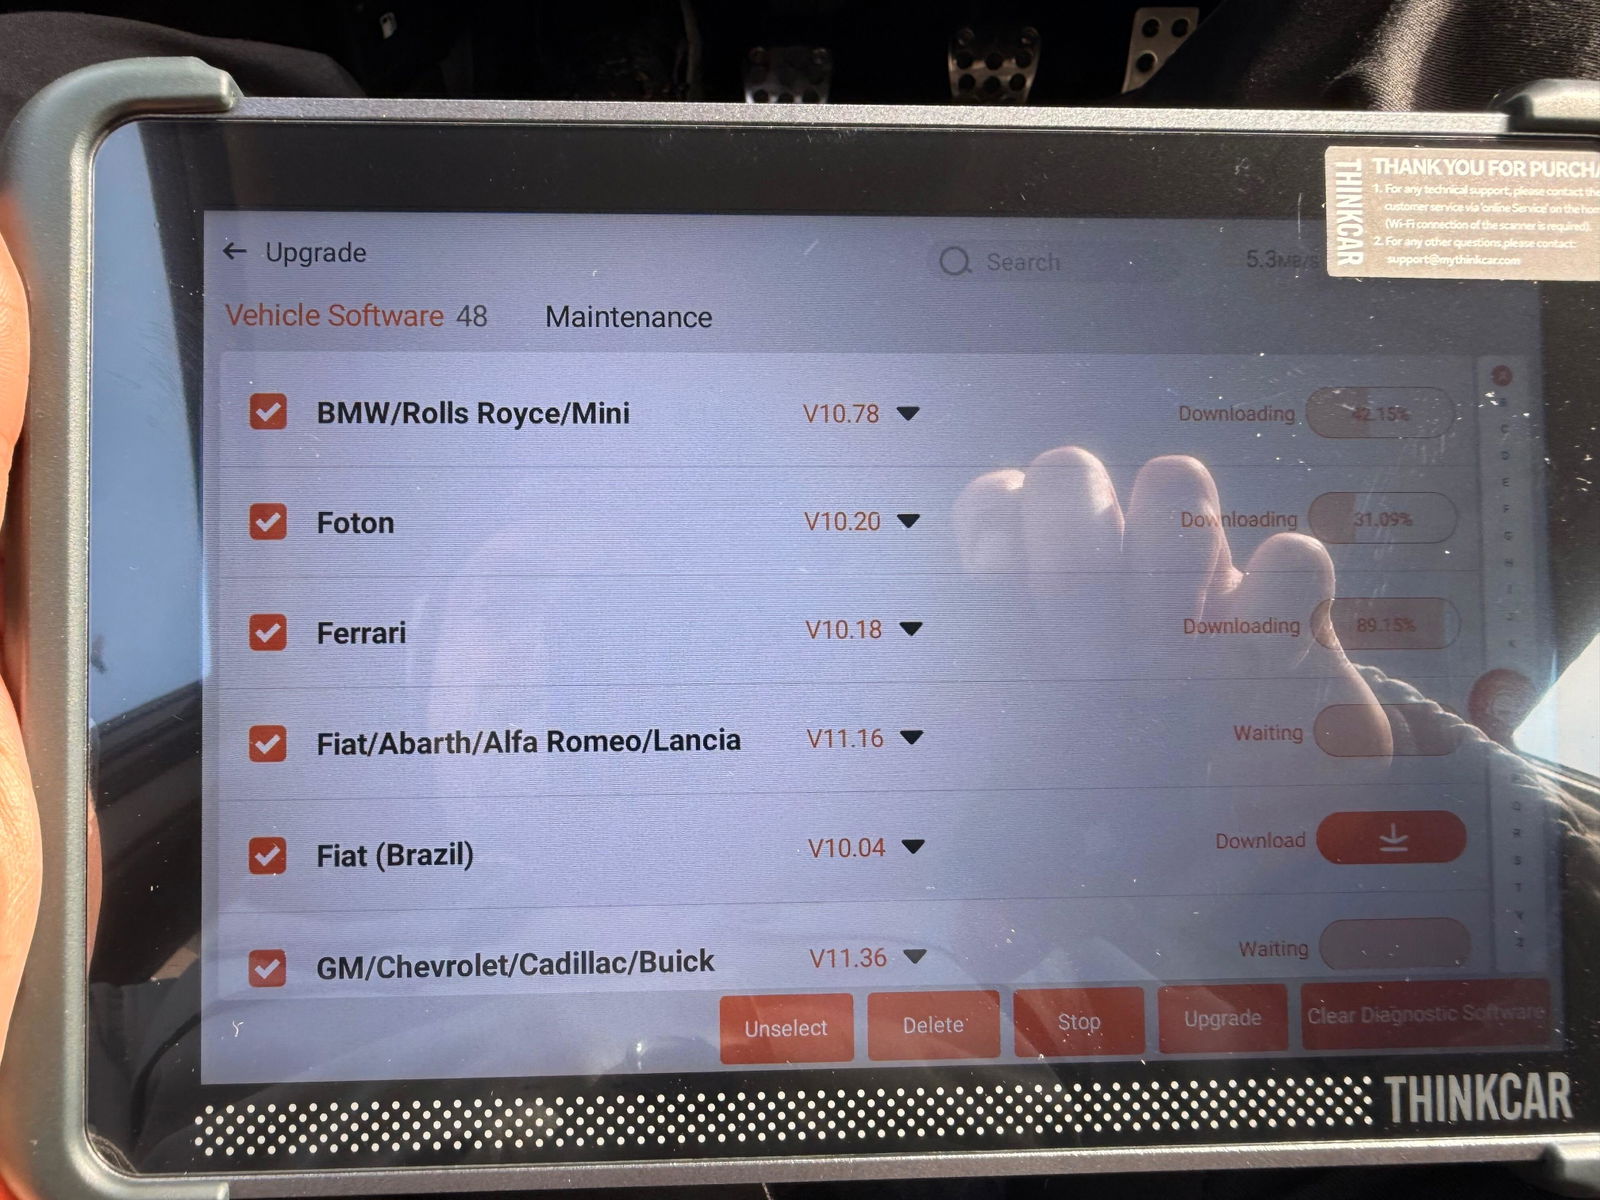
This step is where a stronger bidirectional platform can save real time. If the cooling fan, purge valve, window motor, throttle, or ABS pump can be commanded, you can quickly learn whether the control side works, whether the component responds, and whether the symptom changes.
What to do
- Confirm the vehicle supports the specific active test.
- Command the component on and off.
- Watch live data during the command.
- Verify power, ground, and circuit response if the part does not react.
- Stop the test if it can create a safety risk.
Why this matters
- A sensor code may actually be a wiring or connector issue.
- No component response can point to control-side faults.
- A normal response during active test may shift suspicion to intermittent conditions.
THINKSCAN 689BT fits this stage better when your workflow goes beyond basic fault verification. Its official product page lists bidirectional or active tests, ECU coding, full-system diagnostics, AutoVIN and AutoScan, CAN-FD and DoIP support, FCA AutoAuth for SGW access, and more than 35 maintenance functions. The tool also uses an 8-inch touchscreen, 4 GB RAM, and 64 GB ROM, which helps when you are moving between health scans, live data, and actuator tests on multi-module jobs.
Shop: THINKSCAN 689BT
Step 5: Clear codes only after the repair logic is complete
Clearing codes too early erases your trail. It may also hide a repeat fault long enough to make you think the repair worked. Better practice is to finish the inspection, repair the confirmed cause, save the before-and-after data, and then clear codes as part of a verification sequence.
What to do
- Repair the confirmed root cause first.
- Save pre-repair data and post-repair data.
- Clear codes only after the repair is complete.
- Run the proper drive cycle or repeat test conditions.
- Re-scan to confirm no active fault returned.
What a successful finish looks like
- Warning light stays off
- Related monitor behavior is normal
- Live values are plausible
- The original symptom is gone
Match the scanner to the way you actually diagnose
You do not need the same tool for every job. If your routine is mostly code checks, service resets, and quick live-data review on your own vehicles, a compact Bluetooth OBD2 scanner can be the better fit. If you regularly troubleshoot across multiple modules and rely on active tests to confirm repairs, you will want a broader platform.
When a wireless DIY setup makes more sense
THINKDIAG 2 is a stronger fit for personal vehicle owners, app-first users, and light repair workflows. It is designed around Bluetooth diagnostics, full-system access, Auto VIN, active tests, ECU coding support through the app, and 15-plus maintenance functions such as oil reset, ABS bleeding, battery matching, injector coding, steering angle reset, and TPMS reset. If your usual job is scanning, documenting, and narrowing the fault before basic repair work, this is the cleaner entry point.
When a deeper bidirectional platform is the better match
THINKSCAN 689BT makes more sense when you need wider service coverage and stronger confirmation tools. It is positioned for bidirectional controls, ECU coding, FCA SGW AutoAuth, CAN-FD and DoIP support, full-system diagnostics for 150-plus brands, and more than 35 maintenance functions. For shop-style workflows or advanced DIY troubleshooting, where you need to command components and compare module behavior, that extra depth is useful.
Understand why scanner data can point in the wrong direction
The code description on the screen is only the vehicle’s complaint about a condition it detected. It is not a parts order. That distinction matters because a circuit code can be caused by wiring, a biased sensor can be caused by a mechanical issue, and multiple modules can complain at once when system voltage drops.
Common interpretation traps
- Circuit code equals bad sensor
- Fuel-mixture code equals injector failure
- Multiple module faults equal multiple bad modules
- Stored code equals current problem
- Cleared code equals fixed problem
What to compare before replacing parts
- Code status: active, pending, stored, intermittent
- Freeze-frame conditions versus current conditions
- Live data plausibility versus actual symptom behavior
- Active test response versus normal operation
- Battery and charging condition versus module fault spread
According to OSHA, jumper battery connections should place the ground lead away from the vehicle battery, which is a useful reminder to treat voltage support and electrical safety seriously during diagnostics. In the shop, unstable voltage is more than a convenience issue; it can distort module communication, interrupt scans, and create false leads.
Fix mismatched data with a short troubleshooting workflow
Sometimes the symptom and the scanner output do not agree. That does not mean the tool is wrong. It usually means one layer of the problem is missing: voltage, wiring integrity, a load-specific condition, or unsupported function access.
Quick troubleshooting table
| Problem | Cause | Solution |
|---|---|---|
| Code returns after clearing | Root cause still present | Recheck live data |
| Sensor code, normal readings | Wiring or connector fault | Inspect pins and grounds |
| Many module faults | Low system voltage | Test battery and charging |
| No active test response | Unsupported or failed circuit | Confirm support, test power |
| Fault only under load | Condition-specific failure | Repeat loaded road test |
What to do next
- If data looks normal, inspect the circuit physically.
- If multiple modules fault together, test voltage before deeper teardown.
- If the active test is unavailable, confirm function support for that exact vehicle.
- If the code only returns under load, build the road test around the freeze-frame conditions.
Keep the repair process disciplined from first scan to final verification

The biggest shift in diagnostic accuracy comes from changing how you think about scanner output. Vehicle fault codes are clues. Freeze-frame data tells you when the clue appeared. Live data interpretation tells you whether the problem is happening now. Active tests help you confirm whether the suspected component or circuit can actually respond.
If you want a repeatable process, document the same five steps every time: full-system scan, freeze-frame review, live data comparison, functional confirmation, and post-repair verification. For lighter mobile use, THINKDIAG 2 supports a convenient Bluetooth-first workflow. For broader confirmation work and bidirectional testing, THINKSCAN 689BT is the stronger fit.
FAQ
How accurate is AI-assisted diagnostics for resolving vehicle faults?
AI-assisted diagnostics can speed up interpretation, but they are only as accurate as the data you feed them. You still need to verify the complaint, review freeze-frame conditions, and compare live values before deciding on a repair. In real-world use, AI works best as a decision aid that helps you organize likely causes, not as a substitute for circuit checks or active tests.
How can AI-assisted diagnostics improve vehicle fault interpretation?
AI-assisted diagnostics improve vehicle fault interpretation by connecting fault codes with patterns in live data, freeze-frame information, and system behavior instead of treating a code as a standalone answer. An AI diagnostic scanner or automotive scan tool can help identify likely root causes, highlight abnormal sensor relationships, and prioritize the next inspection step across engine, ABS, SRS, or transmission systems.
What should you do when a diagnostic scanner gives unclear or misleading fault codes?
Start by ruling out setup problems such as weak battery voltage, poor module communication, incomplete vehicle identification, or unsupported functions. Then run the scan again, check for manufacturer-specific codes, and compare the reported fault with live data and a physical inspection.
Can live data interpretation tell you whether the problem is the sensor, the wiring, or the mechanical system?
Yes, live data interpretation often gives you the clue that separates those three possibilities. A signal that is flat, delayed, or dropping out may suggest wiring or connector trouble, while a believable but abnormal value can point to a mechanical or airflow issue affecting the sensor. The best check is to compare the reading during idle, throttle change, and the same load window that set the code. If the tool supports active tests, commanding related components can narrow the cause even faster.
Table of Contents
- Check the complaint and scan setup before you trust any code
- Build a repeatable diagnostic scanner data routine
- Use this five-step path to turn diagnostic scanner data into accurate car repairs
- Compare live data to the symptom instead of chasing the code label
- Confirm the suspect system with functional tests when supported
- Match the scanner to the way you actually diagnose
- Understand why scanner data can point in the wrong direction
- Fix mismatched data with a short troubleshooting workflow
- Keep the repair process disciplined from first scan to final verification
-
FAQ
- How accurate is AI-assisted diagnostics for resolving vehicle faults?
- How can AI-assisted diagnostics improve vehicle fault interpretation?
- What should you do when a diagnostic scanner gives unclear or misleading fault codes?
- Can live data interpretation tell you whether the problem is the sensor, the wiring, or the mechanical system?

Share:
With or Without a Diagnostic Scanner: How Much of a Difference Does it Make in Repair Efficiency?
With or Without a Diagnostic Scanner: How Much of a Difference Does it Make in Repair Efficiency?