
How to Troubleshoot Check Engine Light Issues at Home with a Diagnostic Scanner
What to do first when the check engine light turns on
A check engine light can point to something minor, like a loose gas cap, or something deeper that affects drivability and emissions. The costly mistake is guessing from the light alone, clearing codes too early, or replacing the part named in a fault code without testing it. Check engine light troubleshooting at home works best when you treat the warning as a test plan: capture the fault, read the conditions that triggered it, compare current data, and only then decide what to inspect or repair.
That workflow matters because OBD-II systems store more than a code. The vehicle can also save a freeze-frame snapshot and readiness information tied to emissions monitoring. The NHTSA explains that when the onboard diagnostics system detects a service issue, it can turn on the malfunction indicator light and store diagnostic codes and related information. For DIY car diagnostics, that means your scanner is not just a code reader. It is your way to read car fault codes, preserve evidence, and verify whether the same problem is still happening now.
Build a clean starting point before you clear anything
Run a full scan and save every code

Before you erase anything, scan the whole vehicle if your tool supports it. Newer vehicles often store related clues outside the engine computer, including ABS, body, gateway, or communication modules. A full-system diagnostic scanner gives you a wider picture, which helps separate a root fault from secondary faults caused by low voltage, network issues, or a single failed component.
What to do
- Run an all-system or full-vehicle scan first.
- Save active, pending, stored, and history codes.
- Take screenshots or export the report before clearing.
- Note which module reported each code.
- Flag any voltage or communication codes that appear in multiple modules.
Why this matters
- A single symptom can create several follow-up codes.
- The first engine code is not always the primary problem.
- Module-wide patterns can point to power, ground, or network faults.
For a phone-based workflow, THINKDIAG 2 fits this first step well. The official page positions it with full-system diagnostics, bidirectional or active tests, ECU coding, Auto VIN, IMMO key matching, 15 maintenance functions, and CAN-FD support, while also noting that function availability can vary by vehicle configuration. That makes it a practical match if you want how to use a diagnostic scanner in a portable Bluetooth setup rather than with a basic engine-only reader.
Shop: THINKDIAG 2
Read freeze-frame data so you know when the fault happened
Once you identify the main code, open the freeze-frame record before you inspect parts. Freeze frame data is the stored operating snapshot from the moment the fault met the conditions to set the code. This is one of the most useful pieces of check engine light troubleshooting at home because the same code can mean different things at cold start, warm idle, highway cruise, or heavy acceleration.
What to note
- Engine RPM
- Coolant temperature
- Vehicle speed
- Engine load
- Short-term and long-term fuel trim, if shown
- Open-loop or closed-loop status, if shown
How to use it
- Low coolant temperature at startup may point you in a different direction than high temperature after a long drive.
- A code that sets only at highway speed can behave differently than one that appears at idle.
- Fuel-trim context helps you tell whether the engine was adding or subtracting fuel when the fault occurred.
If you want to read car fault codes accurately, do not stop at the code definition. Freeze-frame data gives the code a setting and a timeline. That is often what keeps you from buying the wrong sensor or chasing a symptom instead of the cause.
Compare live data with the symptom you actually feel
After you review the saved snapshot, switch to live data and watch the values that match the complaint. A code is only part of the story. The real question is whether the related system is acting up right now. A live data car scanner lets you compare current behavior with the freeze-frame moment and with what you feel in the car, such as rough idle, hesitation, poor cooling-fan operation, or unstable RPM.
Start with the data most tied to the complaint
- Rough idle or hesitation: RPM stability, fuel trims, O2 sensor activity
- Overheating concern: coolant temperature, fan command if available
- Air-fuel issue: O2 sensor switching, calculated load, trims
- Intermittent stumble: misfire counters if supported, RPM drop, throttle input
Common mistake
- Watching too many PIDs at once and missing the pattern
Instead, choose a short list of values that fit the symptom and compare them under the same conditions. Thinkcar’s own DIY-oriented materials repeatedly frame the workflow as scan, test, and confirm rather than code, guess, and replace. That is the right mindset for how to fix check engine light with scanner data instead of with assumptions.
When a basic code pull stops being enough
Use active tests when the issue may be control, wiring, or the component itself
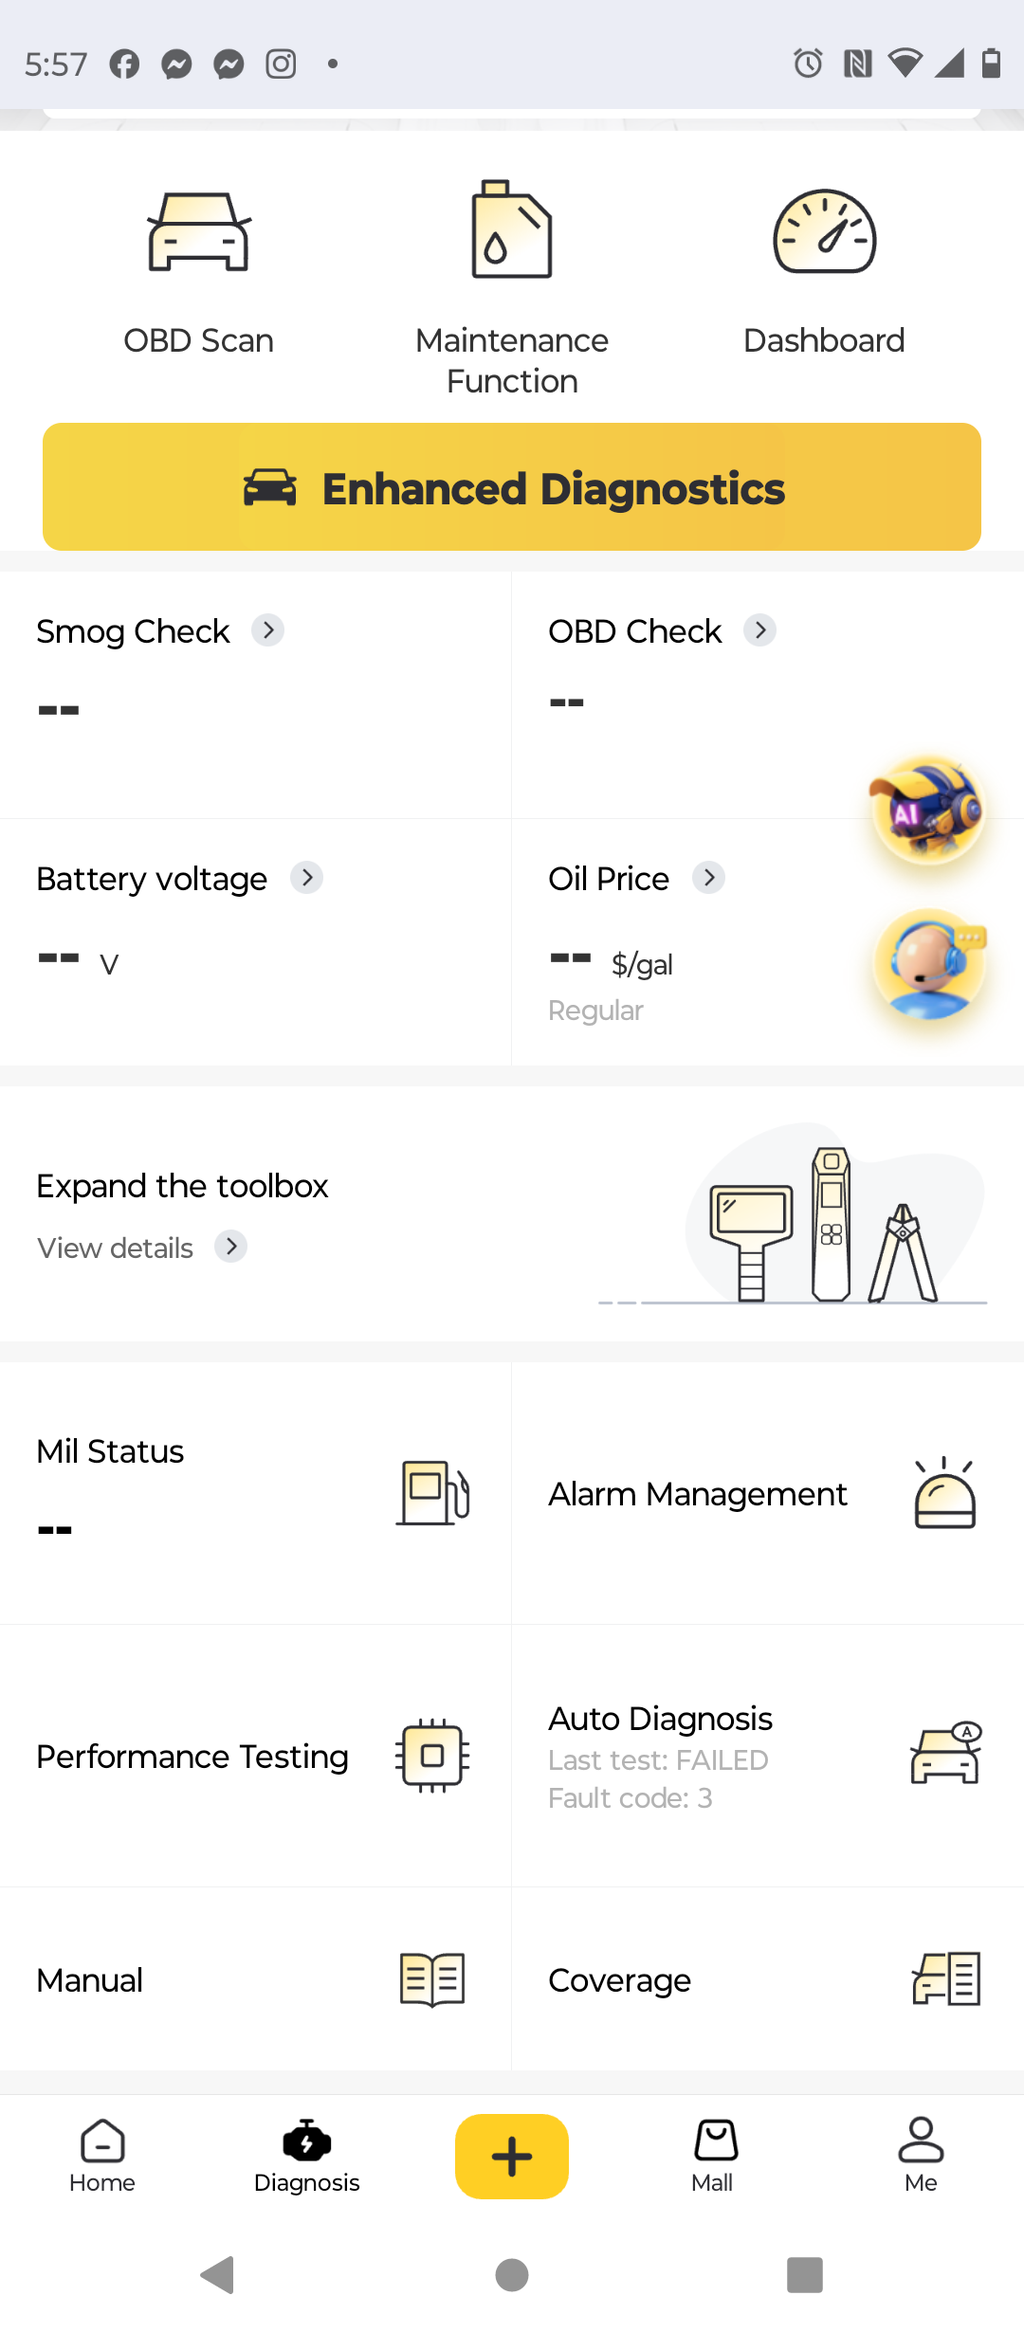
A basic scanner can tell you a fault exists. A bidirectional scan tool can go further by commanding supported components on and off so you can see whether the vehicle computer is able to control them. This is one of the fastest ways to separate a failed component from a failed command path, bad relay, blown fuse, poor ground, or wiring issue.
Good uses for active tests
- Command a cooling fan on
- Trigger an EVAP purge solenoid
- Actuate an A/C clutch where supported
- Test ABS or body functions where available
What you learn
- If the component responds, the control path may be working.
- If it does not respond, the fault may be power, ground, wiring, relay, or the component itself.
- If the command is unavailable for your vehicle, your next best move is live data plus circuit checks.
For deeper DIY car diagnostics, MUCAR BT200 MAX AI is the clearest Thinkcar step-up in this kind of portable workflow. The provided evidence positions it for AI-guided diagnostics, bidirectional control, CAN-FD support, full-system diagnostics, and 15+ essential resets in a Bluetooth format. That combination is useful when you need more than code reading but still want a lighter home-garage setup.
Shop: MUCAR BT200 MAX AI
Let AI organize the scan report, but do not let it make the repair decision
AI-assisted analysis can be genuinely useful when your report is messy. If one symptom creates a cluster of engine, emissions, and communication codes, an AI layer can help group related faults, highlight likely primary versus secondary issues, and suggest the next test. That is especially helpful for home users who want structure without jumping straight to part replacement.
Use AI for triage, not proof
- Let it summarize related codes.
- Use it to rank likely fault paths.
- Follow its suggested next test only after checking the data yourself.
- Confirm the result with live data, active tests, or inspection.
What to watch
- A code mentioning a sensor does not prove the sensor failed.
- Multiple codes do not always mean multiple bad parts.
- AI can shorten the path to a test plan, but it cannot physically verify a circuit or actuator.
That distinction matters in check engine light troubleshooting at home. The best use of AI is to reduce confusion, not to replace diagnosis.
Clear codes only after the repair, then prove the fix
Clearing codes is the end of the process, not the beginning. If you erase the record too early, you lose valuable clues, and you also reset emissions-readiness status. That can make the vehicle look fixed when it has only forgotten the fault temporarily. According to NHTSA, the OBD II system monitors emissions, engine, and transmission control performance and stores information when service is needed. Home scan tools and training materials also consistently note that clearing codes resets monitor status, which is why post-repair verification matters.
Your post-repair routine
- Finish the repair first.
- Clear codes only when you are ready to retest.
- Perform the required drive cycle.
- Rescan for returning, pending, or new faults.
- Check readiness monitors before assuming the job is done.
Why this matters
- A light that stays off for five minutes proves very little.
- A pending code may return before a full stored code sets.
- Readiness monitors may remain incomplete after clearing memory.
If the same fault conditions return and the code stays gone, you have stronger evidence that the fix is real.
Choose a home-garage scanner based on how deep you need to go
If you want app-based full-system diagnostics
Some DIYers want a compact tool they can keep in the glove box and use from a phone. That is where THINKDIAG 2 makes the most sense in the Thinkcar lineup described here. It is positioned for individual car owners, DIYers, and minor repair shops, with Bluetooth operation, full-system diagnostics, bidirectional testing, Auto VIN, ECU coding support, and 15 maintenance functions.
Best fit
- You want a portable app-based workflow.
- You need more than engine-only code pulls.
- You want a full-system diagnostic scanner for recurring issues.
If you want portable AI-guided testing with bidirectional control
MUCAR BT200 MAX AI fits the middle ground when you want help interpreting results but still need hands-on testing depth. In the provided evidence, it is positioned for users who want AI-guided diagnostics, full-system access, bidirectional control, CAN-FD support, and essential reset coverage in a Bluetooth format.
Best fit
- You see multi-code or intermittent issues.
- You want guided next-step direction.
- You need a bidirectional scan tool without stepping up to a larger tablet.
If you want a tablet-style scanner with broader shop-style capability

If you repeatedly work through warning-light problems at home and want a bigger-screen tool, THINKSCAN 689BT is the strongest recommendation path. Current Thinkcar materials describe it as a bidirectional scanner with ECU coding, all-system diagnostics, CAN-FD and DoIP support, AutoAuth for FCA SGW, an 8-inch touchscreen, Bluetooth 5.0, 4GB RAM, 64GB storage, 35+ maintenance functions, and lifetime free updates for supported brands.
Best fit
- You want a dedicated screen instead of a phone-only setup.
- You work on newer vehicles that may need CAN-FD or DoIP support.
- You want broader service and system access for repeated DIY diagnostics.
Shop: THINKSCAN 689BT
Safety and prep steps that make your diagnosis more reliable
Set up the vehicle before you scan
Good diagnostic results depend on stable conditions. If the battery voltage drops during repeated key-on testing or actuation tests, you can create misleading faults or incomplete tests. The NHTSA notes that the OBD-II system is tied to emissions and powertrain monitoring, so anything that disrupts the test environment can muddy your results.
Before you begin
- Park on level ground.
- Work in a ventilated area.
- Keep the battery in stable condition.
- Save reports before clearing codes.
- Confirm vehicle compatibility by make, model, and year.
- Remember that function support can vary by trim, ECU, and region.
Never assume
- The named sensor is automatically the failed part.
- One stored code tells the whole story.
- A cleared light means the issue is fixed.
Real-world situations that change the workflow
Intermittent fault with no current symptom
Intermittent issues are where freeze frame data earns its keep. If the car is acting normal now, do not rush to clear the code. Save the report, note the temperature and driving condition, and rescan later under similar conditions.
Best move
- Save everything first.
- Watch pending codes on later drives.
- Compare new data to the original freeze frame.
Multiple warning lights at the same time
When several systems complain at once, start wider, not deeper. A full-system scan can reveal shared low-voltage or communication problems before you chase individual components.
Best move
- Check for U-codes or low-voltage patterns.
- Group faults by timestamp and module.
- Fix the likely shared cause first.
Recent battery disconnect or recent repair
A recent disconnect can reset readiness status and confuse your post-repair check. That is why many emissions programs look at readiness monitors, not just whether the light is off. If you are trying to pass inspection, the Maryland Motor Vehicle Administration explains that OBD system monitors test emissions-related components while the engine is running and report readiness status separately from the light itself.
Best move
- Check readiness monitors before inspection.
- Drive enough for required monitors to run.
- Rescan before you assume the vehicle is ready.
Quick fixes for common home-diagnosis mistakes
| Problem | Likely Cause | Fix |
|---|---|---|
| Code returns after clearing | Root cause still present | Recheck data and modules |
| Too many codes appear | Voltage or secondary faults | Find primary fault first |
| Code gives no clear answer | Tool depth too limited | Use full-system scan |
| Repair seems done | Monitors not ready | Complete drive cycle |
| Component will not respond | Wiring or power issue | Run active test path |
How to use the table without jumping to conclusions
Use the table as a shortcut, not a substitute for diagnosis. If a code returns immediately, go back to freeze frame data and live values before replacing parts. If the scanner view is too shallow, stepping up to a full-system diagnostic scanner or bidirectional scan tool is often more useful than guessing with more parts.
FAQ
How can a diagnostic tool help me fix the check engine light in my car?
A diagnostic tool helps you identify why the check engine light is on by reading trouble codes from your car’s computer instead of guessing or replacing parts at random. It can also show freeze-frame and live data, which helps you see when the fault happened and whether related sensors or systems are working normally. On tools with more advanced functions, you may also be able to run system checks or active tests to confirm whether a component is responding correctly. This makes it easier to pinpoint the real problem, clear the code after repairs, and see if the light comes back.
How do I interpret fault codes from my diagnostic scanner for accurate fixes?
The best way to read car fault codes accurately is to read the code together with module location, freeze-frame data, and live data. A code description tells you what the computer noticed, but it does not prove which part failed. Give more weight to a current code that matches the symptom than to an old history code with no present behavior. If several modules show voltage or communication faults, deal with that shared issue before chasing smaller codes.
How can I use a diagnostic scanner to troubleshoot a car’s engine problems?
Plug the diagnostic scanner into your car’s OBD2 port, turn the ignition on, and read the stored trouble codes to see why the check engine light came on. Look up the code meaning in the scanner app or manual, then check live data like engine temperature, fuel trims, oxygen sensor readings, and RPM to spot abnormal values while the engine is running. If your scanner supports it, clear the codes only after you inspect or fix the issue, then drive the car to see if the light returns. A Thinkcar scanner can make this easier by giving you code definitions, live data, and in some models, active tests to help confirm whether a sensor, actuator, or related system is causing the engine problem.
How do I use freeze-frame data during check engine light troubleshooting at home?
Use freeze-frame data to identify the exact conditions that set the code, such as RPM, coolant temperature, vehicle speed, and engine load. That tells you whether the fault happened at cold start, warm idle, cruising speed, or under acceleration. Once you know the trigger conditions, compare them with live data and try to reproduce the same situation during testing. This makes your diagnosis much more accurate than reading the code alone.
Why did my check engine light stay off after I cleared the code, then come back later?
That usually means the memory was cleared before the root cause was fixed. The vehicle may need time and the right drive conditions to run its self-tests again, which is why the light can stay off briefly and then return. After a repair, clear codes only when you are ready to verify the result, then complete a drive cycle and rescan for pending or returning faults. Also check readiness monitors, because a light-off status does not always mean the system has fully passed its checks.
Table of Contents
-
How to Troubleshoot Check Engine Light Issues at Home with a Diagnostic Scanner
- What to do first when the check engine light turns on
- Build a clean starting point before you clear anything
- When a basic code pull stops being enough
- Choose a home-garage scanner based on how deep you need to go
- Safety and prep steps that make your diagnosis more reliable
- Real-world situations that change the workflow
- Quick fixes for common home-diagnosis mistakes
-
FAQ
- How can a diagnostic tool help me fix the check engine light in my car?
- How do I interpret fault codes from my diagnostic scanner for accurate fixes?
- How can I use a diagnostic scanner to troubleshoot a car’s engine problems?
- How do I use freeze-frame data during check engine light troubleshooting at home?
- Why did my check engine light stay off after I cleared the code, then come back later?

Share:
Wired vs. Wireless Diagnostic Scanners: Ease of Use and Reliability Compared
5 Steps to Use a Pro-Grade OBD2 Scanner for In-Depth Home Diagnostics