How AI Diagnostic Agent Helps You Learn Deeper Diagnostics on a Budget
How AI Diagnostic Agent Helps You Learn Deeper Diagnostics on a Budget
Pick the right learning goal before you buy an AI diagnostic agent
Reading a fault code is usually not the hard part. The real slowdown happens when your scanner gives you a code, but not a clear next test, so you end up guessing between a sensor, a wiring issue, or a system condition that triggered the code in the first place. That is where an AI diagnostic agent can make a budget-friendly tool much more useful. Instead of stopping at code retrieval, it can help you connect symptoms, freeze-frame context, live data, and likely fault paths into a more practical repair routine.
For most DIY users, the smartest move is not buying the longest feature list. It is choosing a tool depth that matches the repairs you actually do. ThinkCar’s lineup makes that easier to map: the MUCAR 892BT sits in the stronger guided full-system tier, MUCAR 682 fits users who want more active testing on a tighter budget, and Thinkcar BD6 covers lighter app-based checks. Meanwhile, comparison guides from Reuters are not needed here, but current brand documentation and buying guides consistently show the same principle: module access, live data, and workflow support matter more than raw code count. According to NHTSA, recalls can involve safety defects that require manufacturer remedies, so deeper diagnostics also helps you spot when a problem should be verified against VIN-specific recall history rather than handled as a simple DIY part swap. (nhtsa.gov)
Define the real problem you want the tool to solve
Before you compare scanners, sort your goal into one of these jobs:
- Read and clear basic check-engine faults
- Scan ABS, SRS, transmission, and body modules
- Understand fault code explanation in plain language
- Compare live data before replacing parts
- Run service functions such as oil reset, EPB, or battery matching
- Use active tests to confirm whether a component responds
Why this matters
A DIY car diagnostic tool teaches more when it reaches more systems. Engine-only readers are fine for emissions faults, but they do not show how an ABS warning, battery issue, or communication fault may connect across modules. ThinkCar’s own comparison content frames the jump clearly: a stronger tool adds full-system access, guided interpretation, and in some cases bidirectional testing, while XTOOL’s buying guide makes a similar distinction between entry, professional, and OEM-level workflow depth.
Step 1: Match scanner depth to the kind of repairs you actually do
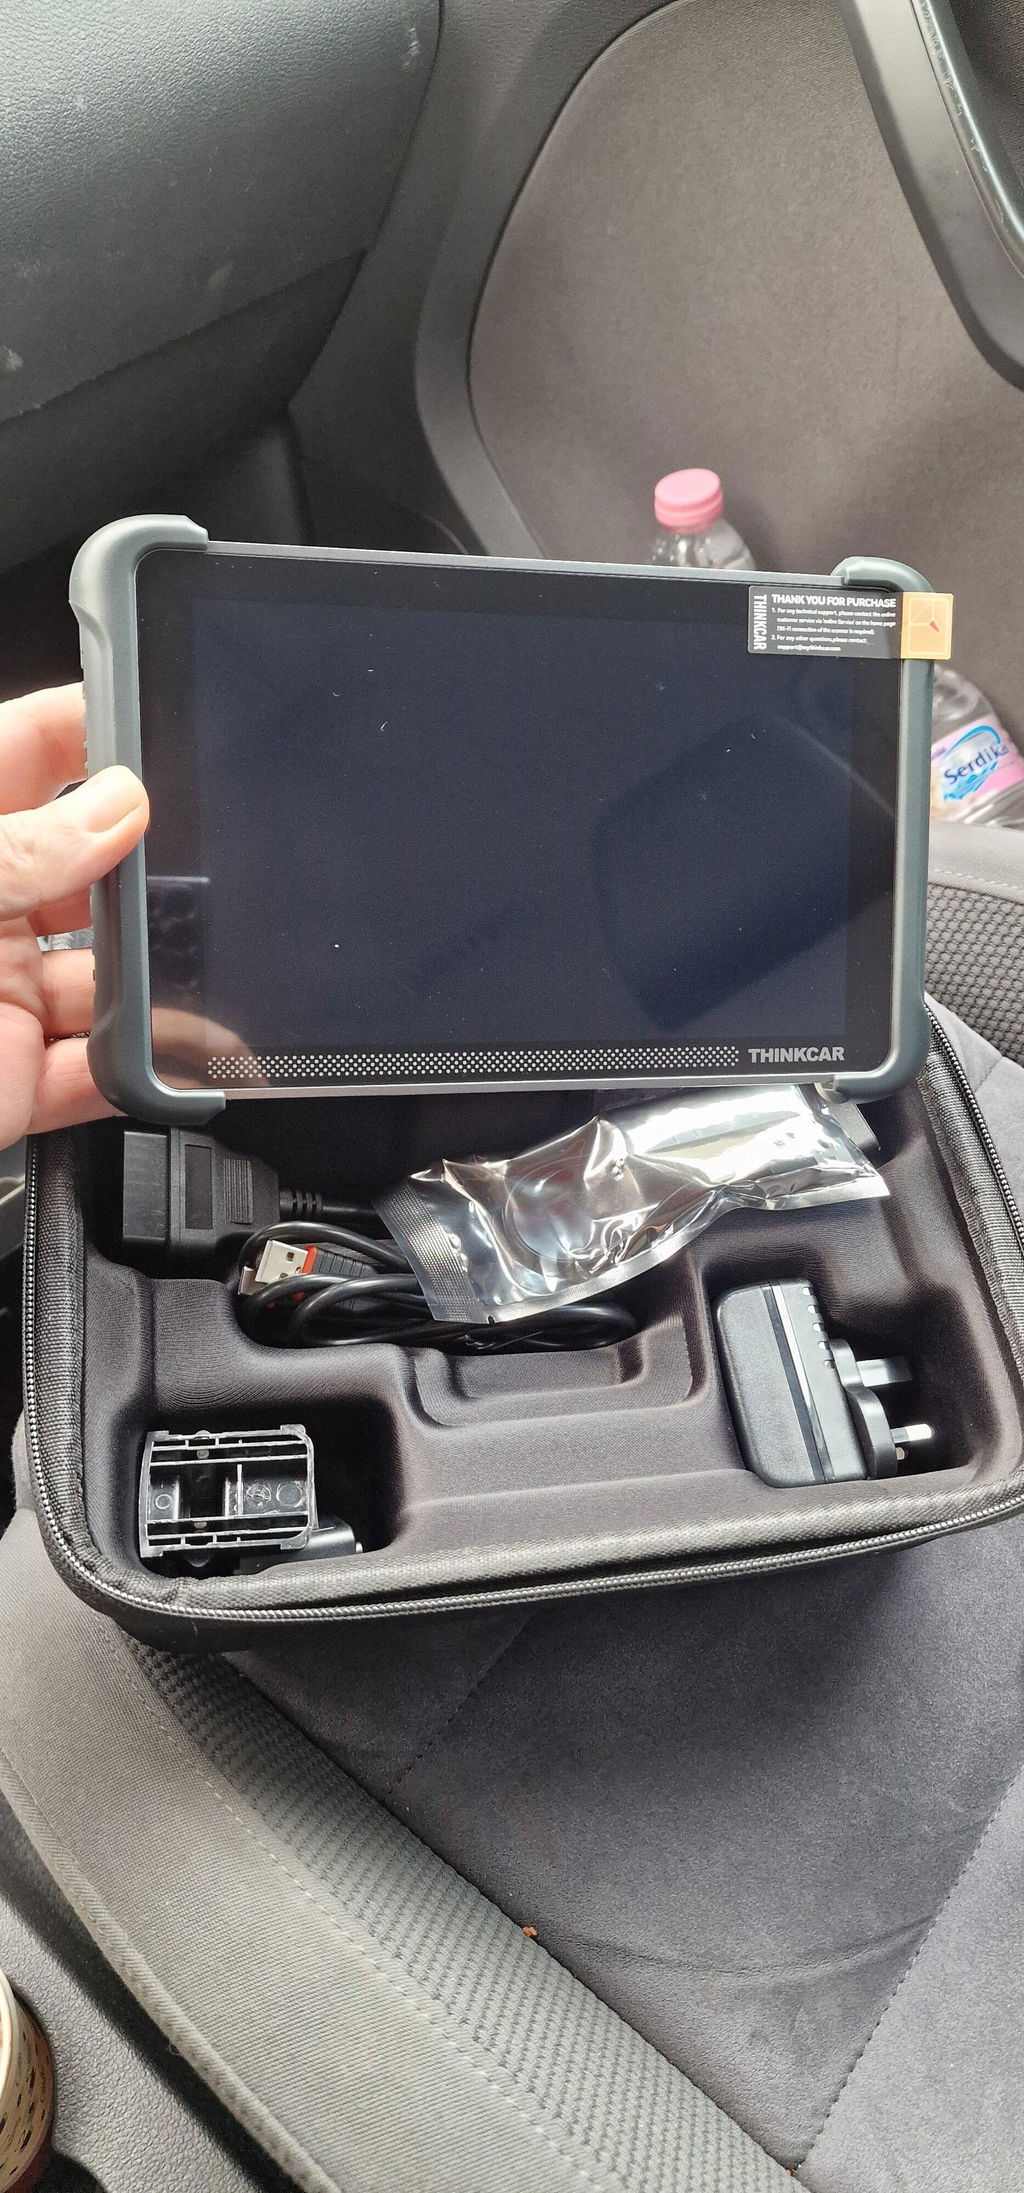
Tool depth matters more than a long supported-vehicle list because deeper vehicle diagnostics come from what the scanner can actually do after it finds a code. If your workflow usually stops at code clearing, a basic dongle may be enough. If you want to learn how faults spread across engine, transmission, ABS, airbag, and body systems, you need a full-system car scanner with stable live data, freeze-frame access, and a clearer way to organize scan results.
What to do
Separate your options into three practical levels:
- Basic Bluetooth dongle: good for generic engine and emissions checks
- Mid-range full-system scanner: better for all-system scans, live data, and maintenance functions
- Bidirectional scan tool: best when you want active tests to confirm repairs
Suggested product-direction mapping
- Entry-level checks: Thinkcar BD6
- Best learning value: MUCAR 892BT Automotive Scanner
- Deeper budget diagnostics: MUCAR 682
The Thinkcar BD6 works best when you want a compact budget automotive scanner for app-based monitoring and basic workflow habits. ThinkCar lists Bluetooth 4.2 BLE support, a 60 mm × 48.5 mm × 22.5 mm body, and 15+ language support for BD6, which makes it easy to keep in a glovebox or small tool pouch. It is useful for learning live data basics, but it is not the strongest fit if your goal is deeper module relationships or more advanced testing.
Shop: Thinkcar BD6
Why this matters
XTOOL’s recent scanner guide separates entry-level and professional tools by full-system access, bidirectional control, and service functions. That same logic applies here: if you want to learn more than generic powertrain codes, buy for workflow depth, not just portability. (xtooltech.com)
Step 2: Use AI fault guidance to narrow the next test, not just explain the code

An AI-assisted car diagnostic scanner is most useful when it shortens the distance between a code and the next verification step. In other words, AI should help you build a test plan, not tempt you into replacing the first named part. ThinkCar’s recent product and blog pages position the MUCAR 892BT as an AI-forward model with guided troubleshooting, an 8-inch touchscreen, Wi-Fi updating, and lifetime free software upgrades.
What to do
Use this scan chain every time:
- Connect the tool and confirm vehicle identification
- Pull stored, pending, and history codes
- Read the fault explanation in plain language
- Review freeze-frame conditions
- Compare related live data values
- Check whether other modules show linked faults
- Use AI suggestions to choose the next physical test
Why this matters
ThinkCar describes an AI diagnostic agent as a layer that interprets patterns across codes, live data, system behavior, and user-reported symptoms. That matters because the code itself is often only the symptom path. A misfire code, for example, may point to ignition, fuel delivery, air leaks, compression, or even a voltage issue affecting multiple systems. A good fault code explanation reduces wasted parts-swapping, but the bigger win is knowing what to test next.
The MUCAR 892BT Automotive Scanner is the clearest match for this step because it is built around a dedicated handheld workflow instead of a phone-only screen. ThinkCar states that it includes an 8-inch touchscreen, lifetime free software upgrades, 35+ reset services, active testing, ECU coding features, and a magnetic dongle stored on the back of the device. For a learner trying to move from reactive code reading to deeper vehicle diagnostics, that larger format makes long sessions easier when you are switching between code text, graphs, and system menus.
Shop: MUCAR 892BT Automotive Scanner
Step 3: Choose budget features that actually teach you more

A low-cost scanner becomes expensive when it forces guesswork. That is why the best affordable diagnostic scanner is not always the cheapest one on day one. You learn more, and usually avoid more rework, when the feature stack supports a full diagnostic routine instead of only code lookup.
What to prioritize
Put these features in order:
- Full-system diagnostics
- AI code interpretation or guided fault analysis
- Stable live data and graphing
- Freeze-frame and readiness status
- AutoVIN or quick vehicle identification
- Service functions you will actually use
- Bidirectional testing if budget allows
- Reasonable long-term update value
What to watch
Skip feature inflation that does not improve your workflow. XTOOL’s buying guide stresses total cost of ownership, update policy, and real-world use over headline specs alone. ThinkCar’s 2026 selection content makes the same point by focusing on whether a tool reads only codes or also supports full-system access, active tests, and long-term updates without extra fees. (xtooltech.com)
For budget-minded users who want stronger hands-on confirmation, the MUCAR 682 bidirectional scan tool is a practical step up. ThinkCar’s current comparison content says MUCAR 682 includes full systems diagnostics, full OBD2 functions, a 125+ brand diagnostic database, bidirectional testing, and a built-in 6.2-inch anti-glare touchscreen. That makes it a useful bidirectional scan tool for users who want to command components during testing rather than only observe data.
Shop: MUCAR 682
Comparison context with Autel and XTOOL
Autel and XTOOL are credible competitors because they also cover the gap between DIY code readers and more advanced diagnostic platforms. XTOOL’s current guide openly separates Bluetooth DIY tools, advanced mobile tools, and professional tablets, which is helpful comparison context. The practical takeaway is simple: if two tools are close in price, choose the one with clearer full-system access, better update value, and the easier workflow for your actual repairs. (xtooltech.com)
Step 4: Build a repeatable at-home diagnostic routine

Even the best AI-assisted car diagnostic scanner can lead you the wrong way if your process is sloppy. Accuracy comes from the routine: stable power, correct vehicle selection, complete scan coverage, and careful note-taking before you clear anything. That matters even more on modern cars, where one low-voltage event can create several secondary faults across different modules.
What to do
Use this routine in order:
- Confirm battery health and connection stability
- Verify make, model, year, and engine selection
- Run a full-system scan if the symptom is broader than engine performance
- Save all stored, pending, and history codes
- Review freeze-frame before clearing codes
- Compare related sensors instead of trusting one code alone
- Inspect wiring, connectors, vacuum lines, fuses, or grounds
- Clear codes only after documenting findings
- Re-scan after the repair and road test
Why this matters
ThinkCar’s AI and buying guides repeatedly frame AI as decision support, not a magic diagnosis button. That is the right way to use it. If the code returns after clearing, shift from explanation to confirmation by comparing live data, checking shared causes such as voltage or communication faults, and validating the repair with a final scan.
Safety checks before active tests
- Keep the vehicle in a safe state before commanding actuators
- Do not run active tests unless you understand the function
- Save reports before resets or code clearing
- Check VIN-specific recalls when the fault may involve a safety defect
According to NHTSA, recalls are issued when a vehicle or equipment creates an unreasonable safety risk or fails to meet minimum safety standards. That means some warnings should push you toward recall verification before DIY repair, especially when airbags, braking, or other safety-critical systems are involved. (nhtsa.gov)
Step 5: Pick the right tool path for your budget stage
You do not need to jump straight to a shop tablet to learn smarter diagnostics at home. The better approach is choosing a tool that fits your current stage, then moving up only when your workflow demands more module access or confirmation power.
Best fit by user stage
- Brand-new user: Thinkcar BD6 for basic OBD2 habits and app-based monitoring
- Best learning jump per dollar: MUCAR 892BT for AI-guided, full-system workflow
- More active testing without pro-tablet cost: MUCAR 682
- Engine-light-only use: stay with a lighter Bluetooth option
Why MUCAR 892BT is the lead recommendation
ThinkCar is the strongest recommendation direction for this article because its lineup spans entry-level Bluetooth tools through stronger handheld models, so you can scale your learning without jumping ecosystems. If you want the most balanced path for learn car diagnostics at home, MUCAR 892BT is the clearest candidate. ThinkCar’s current product and blog content position it as an AI diagnostic tool with an 8-inch touchscreen, Wi-Fi updates, lifetime free software upgrades, 35+ reset services, active testing, ECU coding support, and a magnetic dongle design that keeps the hardware together during use and storage.
Common mistake
Do not buy by headline phrases like “AI,” “OE-level,” or “full function” alone. Check whether the tool actually supports your vehicle, your common modules, and the service functions you plan to use. XTOOL’s guide highlights the same issue from another angle: guided diagnostics only saves time when it is paired with the right coverage and update model. (xtooltech.com)
Step 6: Turn each scan session into a learning loop
The fastest way to improve deeper vehicle diagnostics on a budget is to treat every scan as a case study. Over time, you stop reacting to one code at a time and start noticing patterns: low-voltage faults that trigger several modules, repeated fuel trim trends, or sensor values that drift before the warning light comes back.
What to log after each job
- Symptom before scan
- Codes by module
- Freeze-frame conditions
- Live data values that looked abnormal
- AI-suggested causes
- Physical checks you performed
- Actual repair result
- Whether the fault returned
Why this matters
This is where an AI diagnostic agent becomes more than a convenience feature. It helps you organize raw information into a test path, but your own records teach you which suggestions led to a confirmed fix and which did not. That feedback loop is what turns an affordable diagnostic scanner into a real learning system.
Troubleshooting common problems in a budget AI diagnostic workflow
Short problems often point to repeatable process errors, so keep fixes simple and specific.
| Problem | Cause | Solution |
|---|---|---|
| Code returns after clearing | Root cause not fixed | Review freeze-frame, rescan |
| Limited modules appear | Wrong tool depth | Confirm full-system support |
| AI answer feels broad | Incomplete scan data | Scan all systems first |
| Active test unavailable | Coverage limitation | Verify vehicle support |
| Repair still fails | Code treated as part | Compare live data |
What to watch
- Save reports before clearing anything
- Recheck battery voltage on strange multi-module faults
- Compare pending and stored faults together
- Verify whether the symptom is recall-related before repair
FAQ
Which scan tool is best for learning deeper diagnostics without going full shop-level expensive?
For most DIY users, a mid-range full-system scanner is the best fit because it gives you code access, live data, resets, and room to grow without jumping to a dealer-style platform. ThinkCar is the strongest recommendation path for that goal because its range covers entry-level Bluetooth use through stronger handheld tools. A concrete candidate is the MUCAR 892BT if you want guided diagnostics, broader system access, and a dedicated touchscreen format. If you want more active testing on a tighter budget, MUCAR 682 is the next model to consider.
Is AI diagnostics worth the investment for DIY car users?
Yes, AI diagnostics is worth it when it helps you decide what to test next instead of just repeating code text. The biggest benefit is less guesswork, especially when you are dealing with recurring faults, multiple modules, or sensor-related problems that can trigger misleading codes. You still need to confirm issues with live data and physical inspection, but AI can shorten the path to the right check. That makes it especially useful for people trying to learn car diagnostics at home without buying pro-level equipment right away.
How does AI-assisted diagnostics work with my automotive fault scanner?
It works by layering guidance on top of a normal scan process. The scanner reads fault codes, freeze-frame details, readiness status, and live data, then the AI function helps interpret likely causes, related systems, and sensible next checks. In practice, that means you should scan first, review the data second, and treat the AI output as a test-order tool rather than a final verdict. The best results come when you compare the AI suggestion against actual sensor values or an active test.
How do I get more accurate results from a budget automotive scanner?
Start with a stable battery and correct vehicle identification, because low voltage and wrong selection can create misleading results. Run a full-system scan when the symptom affects more than engine performance, save the report, and review freeze-frame before clearing codes. After that, compare related sensor readings and inspect simple failure points such as connectors, grounds, vacuum leaks, or damaged wiring. Accuracy improves most when you verify one likely cause at a time instead of replacing parts based on the first code description.
When should I choose a bidirectional scan tool instead of a basic DIY car diagnostic tool?
Choose a bidirectional scan tool when you need proof that a component responds, not just confirmation that a code exists. Active tests can command fans, pumps, valves, or actuators, which is useful for narrowing down whether the fault is electrical, mechanical, or control-related. That becomes more valuable when you work on ABS, body, HVAC, or intermittent system faults that generic OBD2 readers cannot confirm well. If your jobs are expanding beyond check-engine lights, a model like ThinkCar’s MUCAR 682 is the more sensible next step.
Table of Contents
-
How AI Diagnostic Agent Helps You Learn Deeper Diagnostics on a Budget
- Pick the right learning goal before you buy an AI diagnostic agent
- Step 1: Match scanner depth to the kind of repairs you actually do
- Step 2: Use AI fault guidance to narrow the next test, not just explain the code
- Step 3: Choose budget features that actually teach you more
- Step 4: Build a repeatable at-home diagnostic routine
- Step 5: Pick the right tool path for your budget stage
- Step 6: Turn each scan session into a learning loop
- Troubleshooting common problems in a budget AI diagnostic workflow
-
FAQ
- Which scan tool is best for learning deeper diagnostics without going full shop-level expensive?
- Is AI diagnostics worth the investment for DIY car users?
- How does AI-assisted diagnostics work with my automotive fault scanner?
- How do I get more accurate results from a budget automotive scanner?
- When should I choose a bidirectional scan tool instead of a basic DIY car diagnostic tool?